1/2/2024 Waxing Skis - the Basics, the Details, and Everything in Between
Part art form and part science, waxing a pair of skis often feels shrouded in mystery. Considering the consequences of a botched wax job range from ruined skin glue to ruined skis, it's no wonder why many folks skip the process altogether or rely on their local shop a few times a season. However, when done right, waxing at home is easy, vastly improves ski glide, and ultimately increases base material longevity. Learning this process appears challenging, especially when everyone seems to have a different method and the sheer number of products can cause analysis paralysis. Should I buy a 3mm or 5mm scraper? What wax should I use for what temperature? Liquid wax or hard wax? What should my iron temperature be? How many brushes do I really need? With this article, we hope to shed some light on this confusing topic and help you find a system that works for your unique situation.
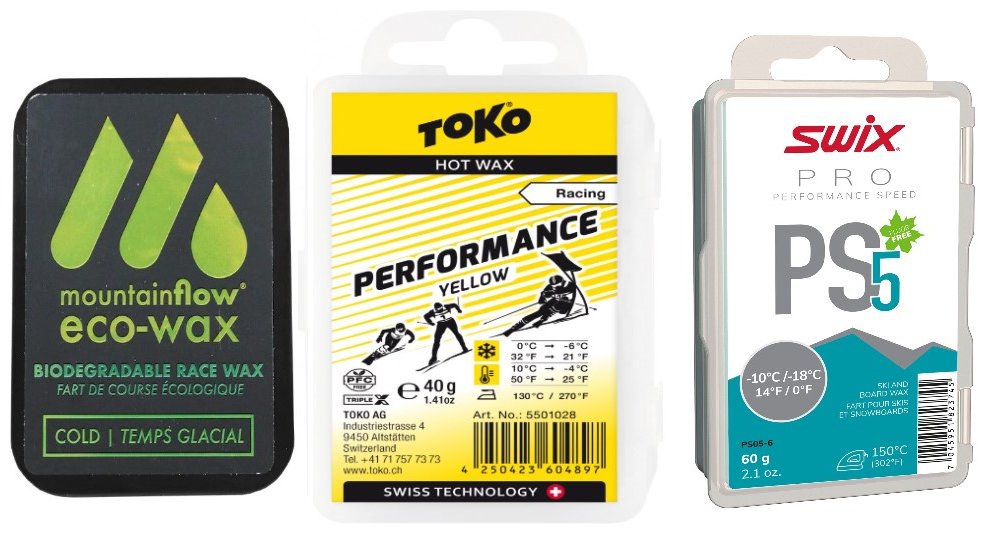
All About Wax - Hard Wax
As their name suggests, hard waxes come in a solid block and have been the mainstay in ski shops and garage tuning rooms for many years.
Hard waxes have traditionally been offered in fluorinated (fluoro) and non-fluorinated (fluoro-free) options. For the everyday skier, a fluoro-free hard wax offers more than enough performance. In the world of Nordic and Alpine ski racing, athletes have traditionally relied on fluorinated waxes for an edge on race day. However, in recent years, concerns for the environment as well as the health of athletes and ski techs have resulted in the gradual phasing out of these fluorinated options. Even with the ski world moving away from fluorinated waxes, non-fluorinated waxes have other pollutants, such as hydrocarbons, that can contribute to soil and water contamination. Luckily, mountainFLOW has tackled this issue head-on with their plant-based eco ski wax, which promises performance without contributing pollutants to the environment.
Apart from fluorinated and non-fluorinated options, hard wax can further be categorized by temperature. Selecting the correct wax temperature for the conditions is crucial for the best glide and base protection. When the snow surface is cold, it becomes more abrasive, requiring more durable (harder) wax to withstand the added friction. Conversely, warmer snow is less abrasive, making a softer wax suitable for these conditions.
When using hard wax, it is better to err on the side of colder rather than warmer. For example, you would want to use the Swix PS #5 wax on an 11°F Fahrenheit day rather than the #6.
For an exceptionally dirty spring snowpack, a Molybdenum wax will offer the best protection from dirt and the best gliding performance.
All About Wax - Liquid Wax
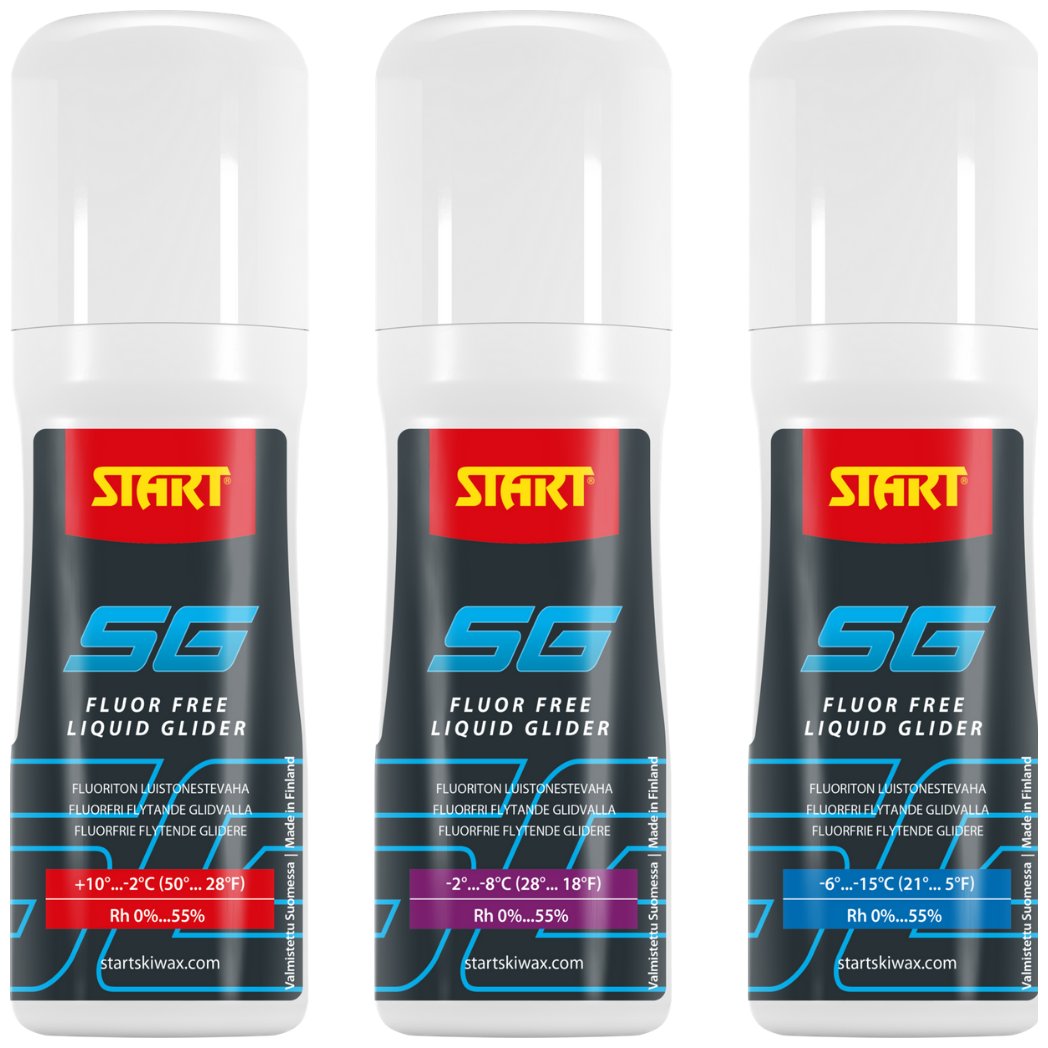
Liquid waxes are relatively new to the world of waxing and offer the same glide performance as hard waxes but with a more convenient application.
Similar to hard waxes, liquid waxes come in fluorinated and non-fluorinated options, with most trending towards being non-fluorinated. Liquid waxes are usually dispensed with a sponge applicator or spray nozzle and have a variety of carrier liquids, such as alcohol, that allow the wax to be distributed on the base before evaporating.
While the application process for hard wax generally doesn't change much, liquid wax has a variety of application processes that can be used. If you want the fastest and easiest option, simply apply the wax, let it sit, brush it off, and then go skiing. If you want a more durable application (longer lasting), tools designed to create heat, such as an iron or cork brush, are needed. For the most durable application, a hard wax should be applied every few weeks with the liquid wax being applied on the top. For this application, a cold hard wax works best.
Similar to hard waxes, it is best to err on the side of cold with liquid wax.
Tools Needed for Waxing
Waxing a pair of skis requires a lot more than just a bar of wax. A dedicated tuning space is highly recommended for containing wax drippings/scrapings. The ideal tuning space has a bench, vices, a tarped-out floor, and is well-ventilated. On the subject of ventilation, most manufacturers recommend waxing with a mask and gloves. Once your tuning space is good to go, it is time to wax!
Hard Waxing
A ski vise is an essential piece to the hard waxing puzzle. They secure your ski in place and allow you to remove even the most stubborn wax. Because of the prevalence of skis with capped constructions, we carry ski vises that interface with your tech bindings, allowing for unencumbered access to your base.
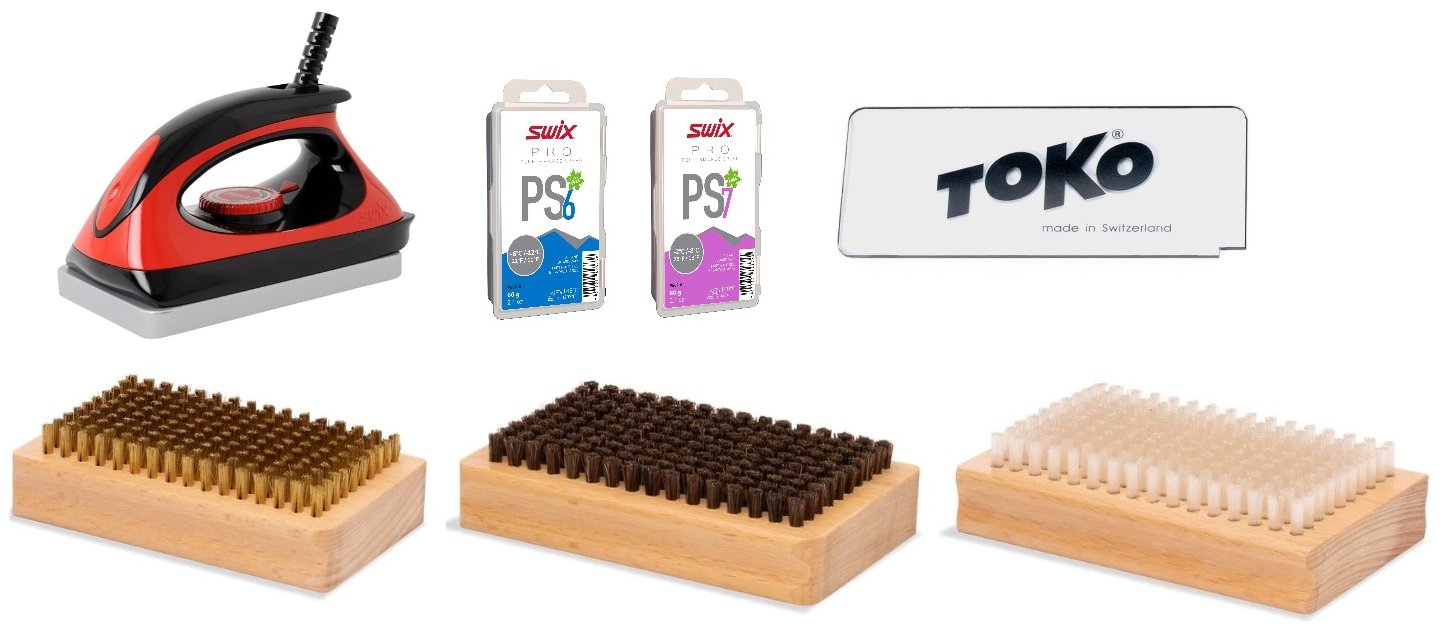
A waxing iron is a specific tool intended for use with skis. That means the steam iron you found in your Airbnb is not an adequate substitute. Nope, not even if you use it without water. The most basic irons give you temperature control in dial form with a thinner metal plate. As you go up in price, you get digital readings and a thick plate of metal. The digital readings allow for more precise temperature control and the thicker metal plate carries more thermal mass, reducing temperature fluctuations during the waxing process. Some companies, like mountainFLOW, now offer handheld infrared devices that take the place of an iron and result in better absorption of wax into the ski base.
As with irons, there are quite a few scraper options to choose from. Different thicknesses and materials abound. Metal scrapers are primarily used for base repair and will actually damage your base if used for scraping wax. Plastic scrapers are the weapon of choice for ridding your base of wax. As for thickness, it is primarily a matter of preference. 3mm scrapers are easier to bend but will wear out more quickly while 5mm scrapers last a long time but can require a surprising amount of finger strength to use.
A dull scraper is a major pet peeve of ski techs across the industry. If you own a scraper, you need a sharpener.
After waxing and scraping, the final step is brushing. Brushes are easiest to think about like sandpaper grits with a descending level of coarsness. When using hard waxes, the ideal cycle is brass, white nylon, and a finish brush. However, you can get away with a brass and finish brush, or if you are really a minimalist, a white nylon will do the trick.
Steel
On the most abrasive end of the scale is the steel brush. Not often a tool found in home tuning rooms, the steel brush is mostly used when hot scraping or in the springtime when the snow is extra dirty.
Brass
Next up on the scale is the brass brush. The brass is the first brush to use post-scrape and is still relatively coarse.
White Nylon
After the brass is the white nylon. The white nylon is somewhere between a coarse brush and a polishing brush. For folks using liquid waxes, this is the only brush you will need.
Polish
The final brush category is polishing brushes. Here, we carry horsehair and blue nylon, with the horsehair being the “finest” of the lineup.
Liquid Wax
Brushes
For the minimalist, a white nylon brush is often the only tool that is needed. If you find yourself using higher-end liquid wax, such as the Toko Liquid Parrafin, then a soft-bristled brush will help get the finish you are after.
Cork generates friction and thereby heat on the base of your ski. If you want to create the most durable liquid wax application, this is required.
Iron
While not required for liquid waxes, an iron generates heat that creates a more durable bond between the liquid wax and your ski base. Be careful not to burn your bases, especially if you don't have a layer of hard wax between your iron and ski base. Always follow the directions of the wax you are using!
Hard Wax Process and Considerations
Having gone over specific tools, it is time for a word on technique. As mentioned earlier, in its simplest form, applying hard wax requires using an iron to melt the wax onto the base of a ski/snowboard, using the iron to spread wax into an even coat, letting the wax cool, scraping the wax off, and brushing away the remnants until you have a clean base.
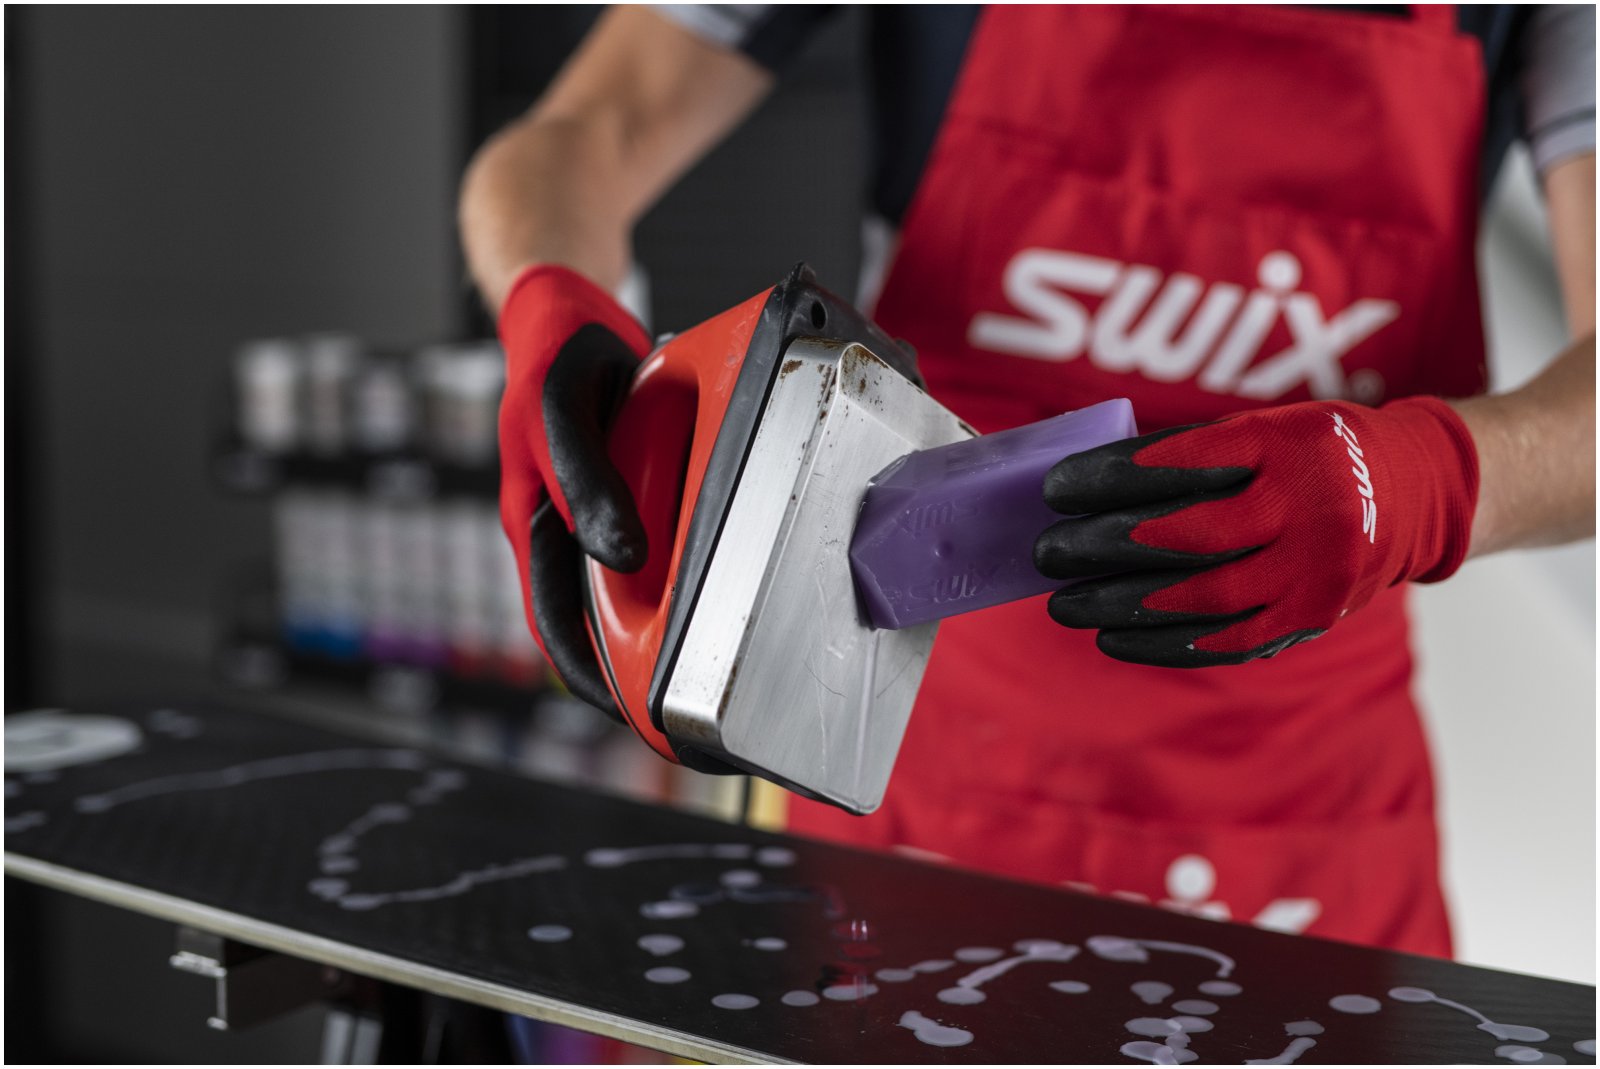
Apply Wax
Once your iron is at the desired temperature, touch the wax to the metal portion until it starts to melt and become liquid. Holding the iron and wax above the base, drizzle the wax in a zig-zag pattern along the length of the ski. Be careful not to underapply (easier to burn the base) or overapply (difficult to scrape).
Another option for wax application is the “hot touch” method. Starting at the tip of the ski, hold your iron over the ski. Touch the bar of wax to the iron until it starts to melt. Then, crayon the bar of wax down a short section of ski. This should leave a solid wax residue. Do this method for the length of the ski, and drip a sparse amount of additional wax for good measure. From there, use standard procedure. This is a great way to cover your whole base in a coat of wax before applying your iron to the base, better protecting against burning base material.
Ironing
Ironing is a phase of waxing skis in which mistakes can become expensive. Burned bases, warped bases, and altered core materials are all possible when executed incorrectly. Touring skis have thinner bases and different core materials in order to remain lighter than their inbounds counterparts, making them more susceptible to overheating. If your skis have foam cores, overheating can actually expand or alter the foam, fundamentally altering ski performance. With backcountry skis, it is especially important to be mindful of iron temperature and to keep your iron moving. Wax manufacturers list the recommended iron temperature for the wax being used, which is a good starting point. However, if your iron is smoking excessively, drop the iron temperature. It is better to be conservative and keep your iron on the cold side of the recommended temperature.
Scraping
Once the wax has adequately cooled (20 minutes or longer), it is time to scrape! When scraping, make sure to scrape tip to tail. If you are overzealous with your scraper sharpening, or you are pressing too hard, you can actually scrape away base material. A clear sign is if the wax scrapings are suddenly black, indicating you are taking base material.
On the subject of sharpening scrapers, it is important to evenly sharpen a scraper edge in order to remove wax. If you have a wavy and uneven scraper edge, it will do a poor job of wax removal. Also, be aware of burrs along the scraper edge, as these can damage a ski base.
An additional concern when scraping skis is your skin glue. If you do a poor job of removing the wax from your base the excess wax will act to negate the tackiness of skin glue permanently. If you want your skins to last, be thorough when scraping! Streaks of wax or cloudy sections of base material are obvious signs that you have not removed enough wax. The structure of the base material should be plainly visible.
Brushing
As with scraping, brushing is a simple process and it is important to do tip-to-tail. Also, brushes should only be used in one direction, especially with brass and steel brushes, The brush strands become angled. Using an old brass or steel brush in reverse will actually scratch a ski base. When buying a new brush, choose a direction, and sharpie an arrow on the top.
Liquid Wax Process and Considerations
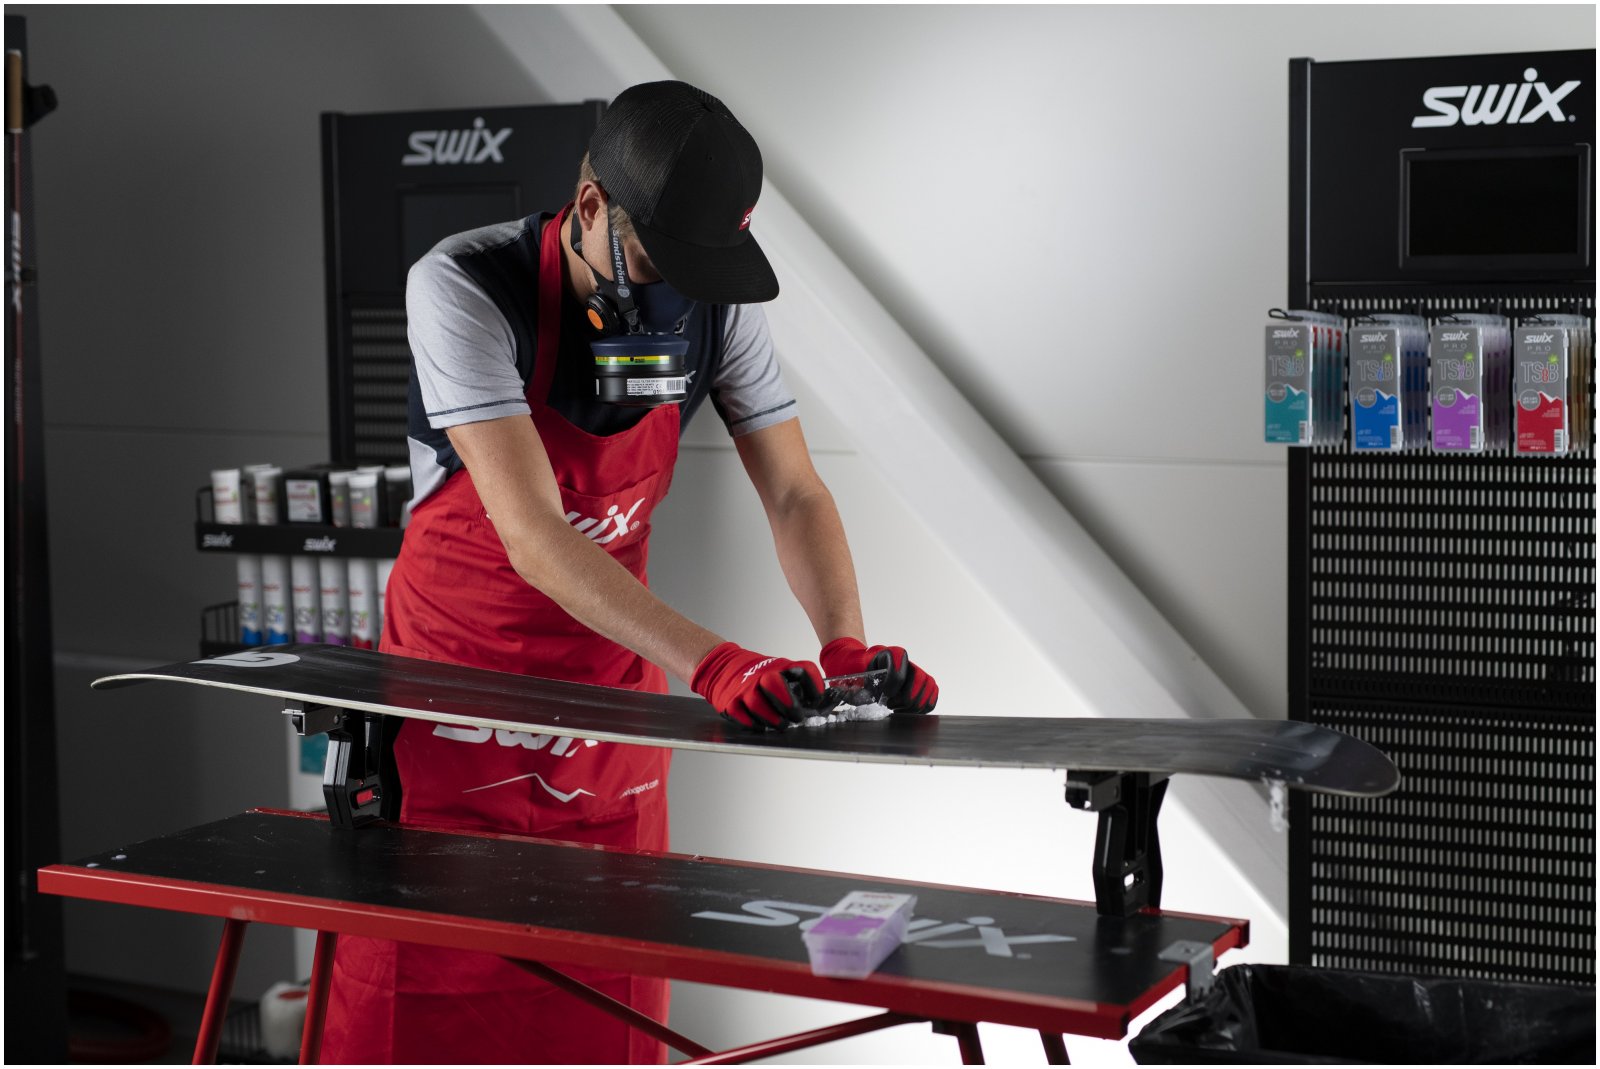
Liquid waxing is a simpler process than hard waxing and can be done in three parts: Apply the wax, wait for it to dry, brush it off, and go skiing!
Once your ski is on the bench, it is a good idea to do a few passes with a brass brush to remove dirt and impurities in the base. If your base has been extra naughty, using a base cleaner will help achieve optimal results. Then, use the applicator to apply a coat of wax. Once it has dried (usually about 20-30 minutes) do 3 to 5 passes with a brush. That is it!
A common complaint with liquid waxes is that they are less durable and will wear off more quickly. There are three options to extend the lifespan of a coat of liquid wax. First, a cork. Common amongst Nordic skiers, the friction from a cork generates heat creating a more durable bond between the wax and ski base. It is a middle ground between nothing and ironing and is still very low fuss. We recommend waiting for the wax to dry before corking. Second, with some liquid waxes, an iron can be used. We recommend using a low-temperature setting and make sure you follow the instructions of the wax you are using! Third, a hard wax can be applied to the base in regular intervals, allowing the liquid wax to adhere more securely to the base. Now, you might be thinking, "Wait a minute, isn't the point of a liquid wax to avoid having to hard wax?" In short, the answer isn't so simple. A hard wax applied at regular intervals provides a platform that allows the liquid wax to more securely bond to the base of the ski. This allows you to use the quicker-applied liquid waxes to find the ideal wax for the specific temperature of a day, rather than going through the hassle of a hot wax to find the best temperature.
Lastly, make sure you do a thorough job brushing to help prevent your skin glue from being contaminated.
Ski Waxing Starter Kit Suggestions
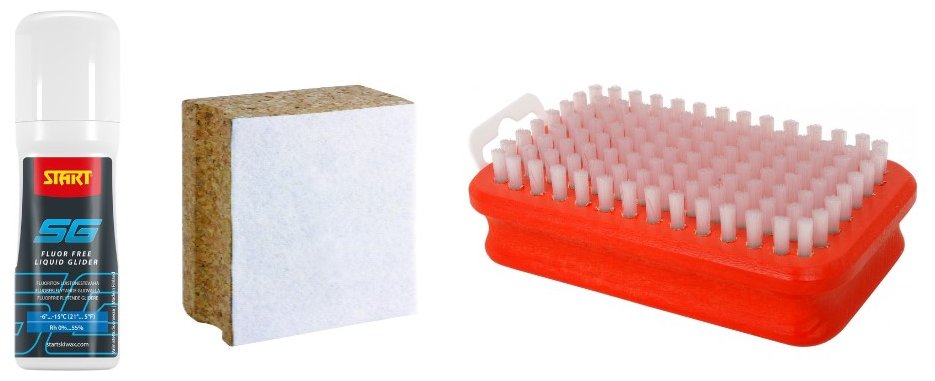
Basic Liquid Wax Starter Kit
Start SG Blue - This will cover cold winter conditions and moderate spring temperatures.
White Nylon Brush - This is a versatile option and the only brush you need for a barebones liquid waxing kit.
Thermo Cork - This is an inexpensive way to keep the wax on your base, longer.
Basic Hard Waxing starter kit
Iron - Either the Swix or mountainFLOW infrared waxer will perform well, with the latter allowing better wax absorption in the base.
Swix PS #6 Wax - The PS #6 wax will cover a wide array of conditions and help protect your base.
Wintersteiger Alpin Plexi Scraper - This will be easier on the fingers and adequately scrape off the wax. If you are a climber and want a more durable scraper, the Toko Plexi Blade 5mm will work well.
Swix Brushes - Brass with Soft Nylon for initial wax removal and soft nylon for polishing.
Other Considerations
Outside of regular midwinter care, there are a few other uses/considerations related to ski waxing. The first is summer storage. The goal of summer ski storage is to protect ski bases from damage and drying out. However, it is also a great chance to clean the funk from dirty spring snow out of your bases. The best way to do so is a hot scrape.
When hot scraping, follow the same procedure for hard waxing covered above. The only difference is do not let the wax cool. The gunk you are cleaning out of your base will be very apparent in the wax scrapings. After a hot scrape, apply a thick coat of wax to your skis and leave it on until the fall. For more on summer storage, check out our End of Season Gear Maintenance article.
Another method to rid your base of impurities is to use a base cleaner. With base cleaners, there are two options to choose from: A harsh cleaner that completely strips the base or a more gentle glide wax cleaner. For most situations, the latter is more appropriate as it will strip out dirt and impurities while being less abrasive to your base. Hot scraping is still the preferred method for storage, as using a base cleaner can leave solvent in your base over the summer.
Putting it All Together
Whether waxing to give yourself an edge on race day, extend the life of your touring setup, or a bit of both, waxing at home is easy, inexpensive, and some might even say, meditative. Hard waxes offer a compelling mix of durability and glide while being the most intensive to apply. Liquid waxes offer the same performance as hard wax and are much easier to apply, however, to create the most durable applications, liquid waxes can require similar tools and time as hard waxes.
Do you have a system that has worked well for you? Have more to add to the discussion? Please let us know if the comments below! Happy waxing!
Comments