8/20/2024 Considerations for Skiing Lightweight Equipment
By Spencer Dillon
I’ll be the first to admit I swore never to ski lightweight gear. I’m 200 pounds and an 8-year PSIA Level II ski instructor used to titanal skis and 140 flex boots. But the siren song of speedy skinning and boots akin to running shoes finally got the best of me. Easing into light (and perhaps ultralight) gear has been, at times, rugged. The gear, especially with a heavy backpack, poor snow, or both, can feel exceedingly humbling. But I’m here to tell you there is hope. While you’ll never compete in a freeride event in race boots and skis, you can ski some of the most prominent lines in North America with dignity and ease. With an appropriate shift in technique and realistic expectations, you too, can experience the unparalleled efficiency and performance this light category uniquely provides.
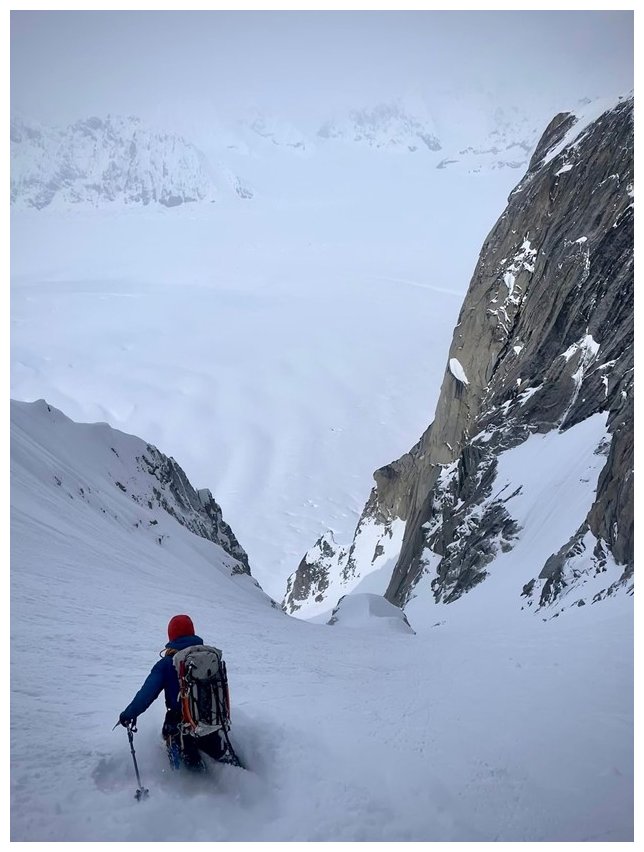
Lightweight boots and skis are often described as hooky, unsupportive, unstable, soft, and dweeby. If you already own light gear, you’ve likely done the skimo ‘tuck’ as you slam back and forth through the flex of your boots and skis: an ultra-backseat fear maneuver. Beyond looking goofy, it makes for difficult and undignified skiing. But it doesn’t have to be that way. While lightweight gear does not forgive poor technique, with the appropriate approach, you can tackle daunting objectives and feel good about doing it.
While we all have differing ideas of what ‘good skiing’ looks and feels like, I think some consensus words can satisfy most definitions: predictable, smooth, and efficient. Maybe "steezy" if you’re 19. But steezy readers need not apply here. So, let’s figure out how to make lightweight gear feel predictable, smooth, and efficient.
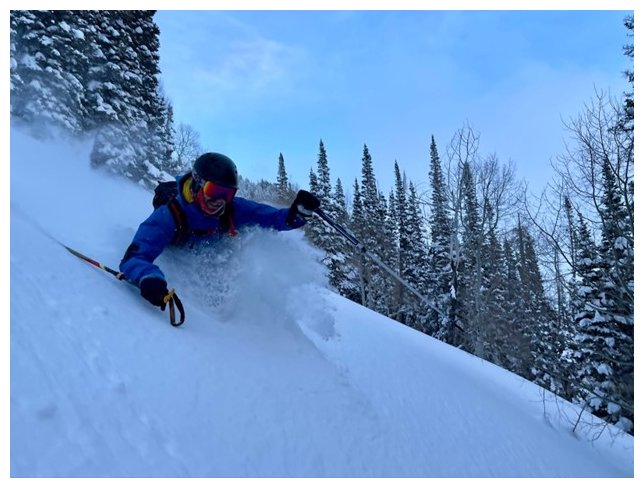
As iterated above, it is crucial to recognize that good skiing on light gear requires different tricks than good skiing at the ski area. If you’ve ever received unsolicited ski coaching, it likely involved someone telling you to “lean forward.” From a PSIA perspective, ‘leaning forward’ means getting your center of mass (body) over your base of support (feet), and there are many ways to accomplish this. With light gear, we need to figure out how to ‘lean forward’ and find balance over our feet. How and when we do that differs between the ski area and the backcountry because of snow conditions, gear, and style. Understanding that will make the transition to light gear easier.
Nomenclature:
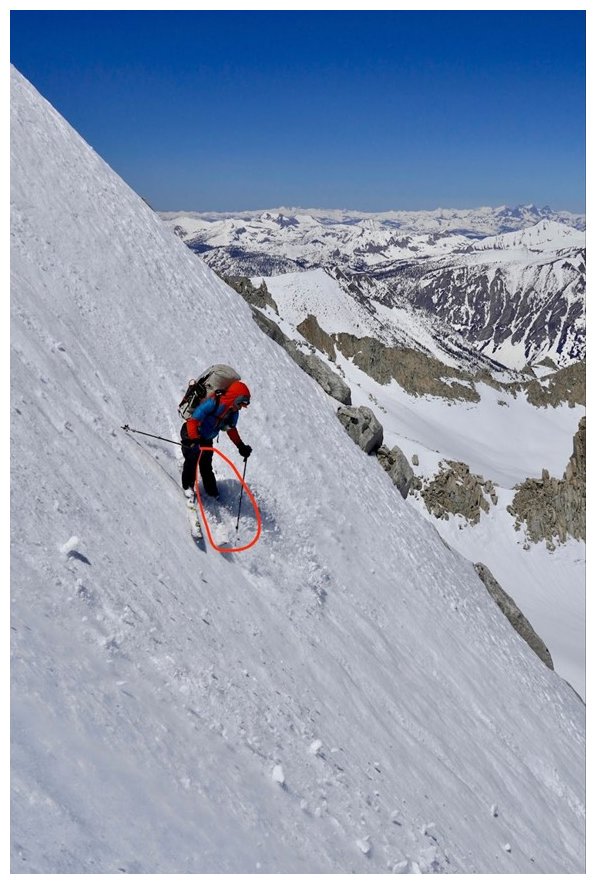
I usually refer to the inside and outside ski rather than uphill and downhill. As the name suggests, the outside ski is on the outside of the arc, and the inside ski is on the inside. For example, if you turn right, your right ski is the inside ski, and your left is the outside.
Gear:
To get the most optimal performance from light gear, I’ve found that I need to be much more particular about the setup and fit of my equipment than my resort gear. A rock-solid bootfit is key, and choosing the right ski profile for your style helps, too.
We rely on our boots and skis at the ski area to hold us up. We drive stiffer and heavier gear (skis and boots) in bigger and faster turns. We also don’t ski with heavy expedition-laden backpacks. If you’ve ever tried to ski lightweight gear like that, you’ve likely found yourself knees to nose, boots fully flexed as you go over the handlebars. Don’t do that.
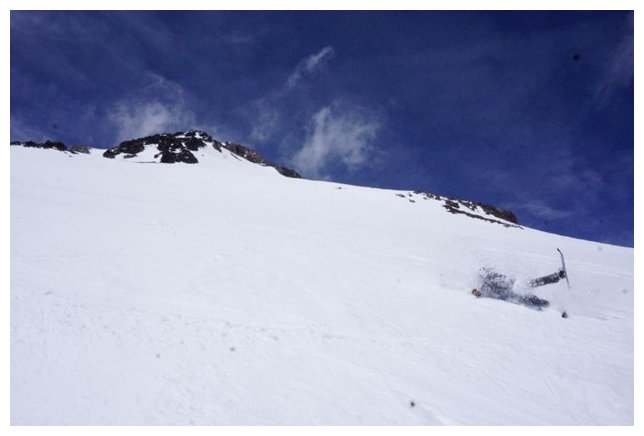
With lighter gear, we need to be gentler without losing our balance over our feet. Your skimo boots can’t hold you up as your resort boots can, but that’s not an excuse to do the skimo tuck. We must stay balanced over our feet throughout the turn to be predictable, smooth, and efficient.
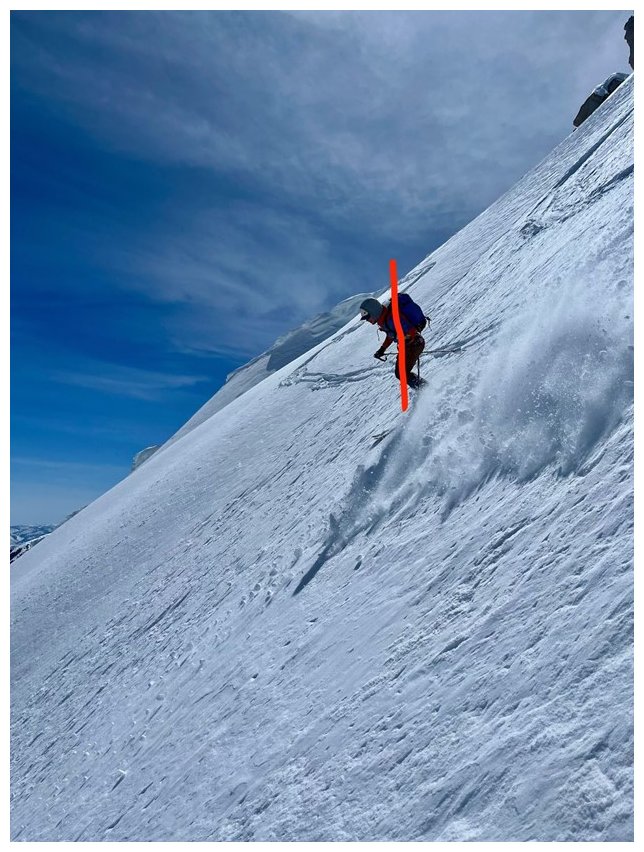
At the time of this writing, my light boots are Fischer Travers, using either the stock or Intuition Tour Tongue liner when the range of motion matters less. I always ski with custom footbeds and ensure I’ve done enough shell work to crank down on the lower closure mechanism (in my case, a boa) without undue tootsie pain. I always use additional padding to ensure my heels are comfortably locked down. Having a supported and engaged foot is critical to skiing light gear well. A thin "paper" liner and stock footbed will make a difficult task even harder.
When a boot offers different forward lean settings, I take the most upright stance possible. If you’re already going to flex through the boot, why give yourself a head start right out of the gate?
When going light, my ideal ski profile is 80-90mm underfoot, 1100-1300 grams, mostly cambered, flat tail, with a turn radius from 20-25m. At just shy of 6’, I usually opt for a 178-180cm length (compared to my 185cm resort and powder skis). In firmer conditions, this profile allows for predictable, grippy skiing.
For bindings, all of my skis are mounted with Superlite 150s. With the highest retention spring, I have never had release issues, even as a big boy with a backpack. I've also grown accustomed to the bindings delta, which works well with my ski and boot combination.
Once the gear is settled, it is time to figure out how to use it. Apart from recognizing the need to be gentle, here are three things I have found useful when skiing light gear:
1) Consistent pressure
Slamming into the front of your skis and boots is a surefire way to overwhelm your lightweight gear. To avoid this, think "smooth thoughts." I strive to apply consistent pressure to the front of my boots and the snow. This means forward/backward pressure (i.e., whether the tip or tail of the ski is ‘heavy’) and up/down pressure (i.e., the pressure your feet exert on the ground when you jump). If you consistently drive your skis and flex your boots, you will need less support from them to ‘lean forward.’
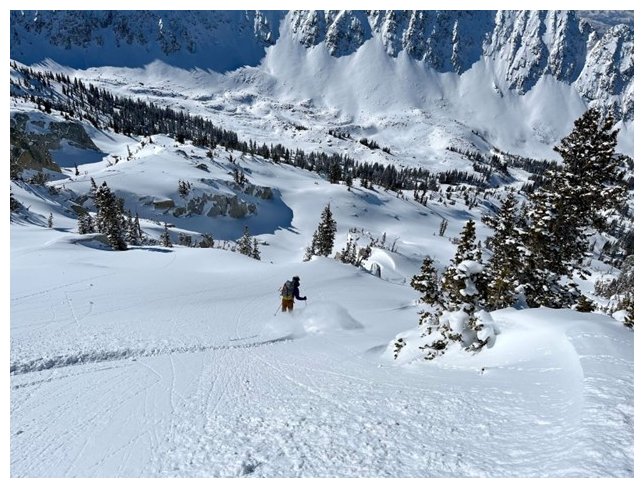
Apart from evenly weighting your skis and boots, the concept of consistent pressure can also be applied to turns. For example, when making hop turns, many folks smash the snow when landing, which looks like a lot of work and can cause you to over-flex your boots. Land softly, balanced over your feet. Jumping softly helps, too. The key here is pressure management, not pressure minimization.
An excellent way to tell if you are applying consistent pressure is to look back at your tracks. Look for three things: 1) Is your turn "round" and symmetric from top to bottom? 2) Where is the spray from your turn the biggest, the middle or bottom? 3) Are your tracks relatively comparable in depth through the turn or noticeably shallow in one part of the turn?
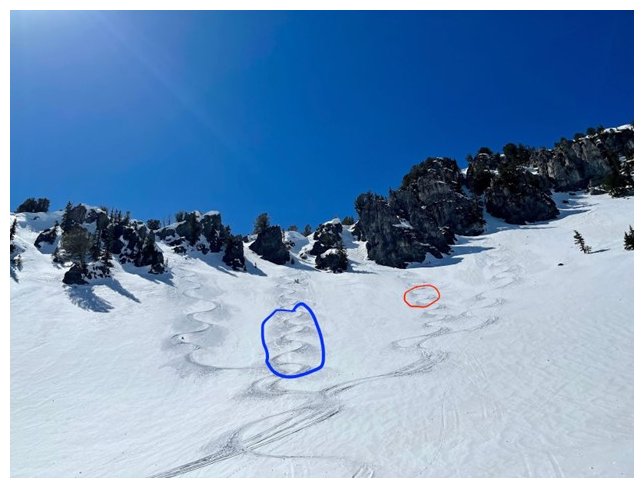
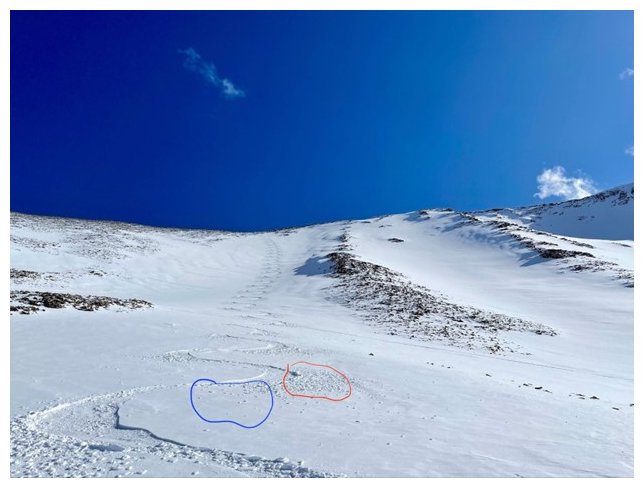
As you may guess, we are looking for a round turn of even depth whose spray comes off somewhere around the middle of the turn. Roughly, this turn's shape can be considered a "C." Alternatively, a "J" turn has a shallow depth towards the beginning and gets deeper at the end. Intuitively, the spray from a "J" is at the end of the turn. While great for marketing departments, turns with this "slashy" shape aren't consistent and load the boots and skis abruptly. When skiing lightweight gear, stick to the round, predictable "C" shape.
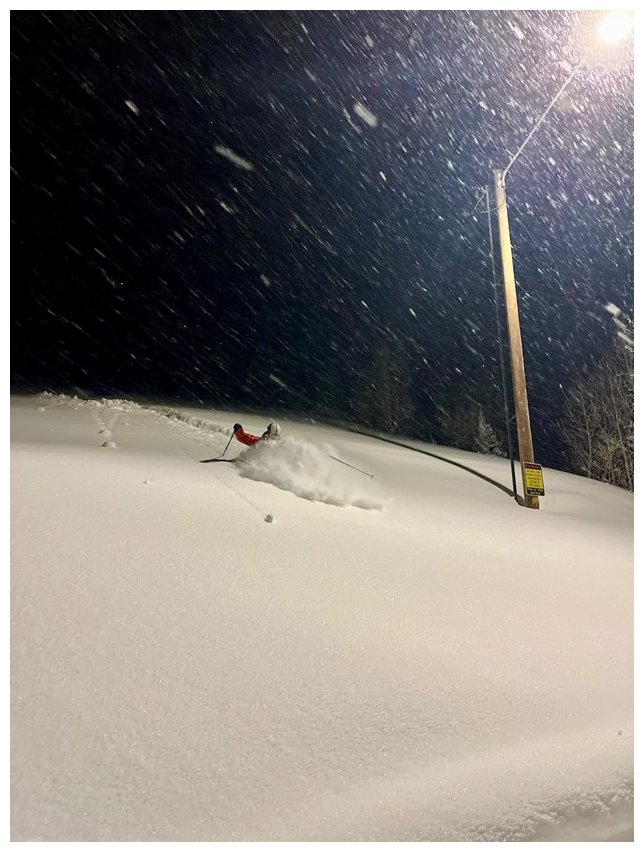
To help consistently make round and even turns, I’ve found it useful to think about ‘softening’ the bottom of a turn rather than trying to generate more pressure at the top, which helps you remain balanced when you start the next turn. Additionally, "softening" the end of your turn ensures you aren't too locked in, allowing you to progress to your next turn easily.
2) Pull the outside ski back
Another negative phenomenon on light gear is the "sequential" turn, where one ski turns, and the other follows. Some might know it by its other name: pizza. In either case, starting your turn one ski at a time will punish you, especially using light gear. We all get a little wedgy, especially in steeper terrain and scarier snow conditions, but this will make it considerably harder to ski in balance. Once we feel the inside ski is locked up above a turn we have to make, we get even more defensive, further locking the ski up. When this happens, light skis tend to feel extra hooky. To remedy this, we want both skis to begin their turn simultaneously, which will help make scary turns feel more predictable and less death-defying.

One of the best ways to remedy the wedge in steeper terrain is to pull back the outside ski before starting a turn. As you may guess, this keeps you balanced over your feet and makes it easier to turn your inside ski (the one you’re not trying to pull back). If you are about to turn left, pull your right ski back underneath you until you feel the pressure of your skin increase against the tongue of the boot. Then turn. You don’t have to pull the ski behind you; just generate some (not too much) pressure on the outside ski. This will free up your inside ski to turn simultaneously with your outside ski. Another way to think about this is "retaining" the old inside/new outside ski as you finish your last turn and start your new one.
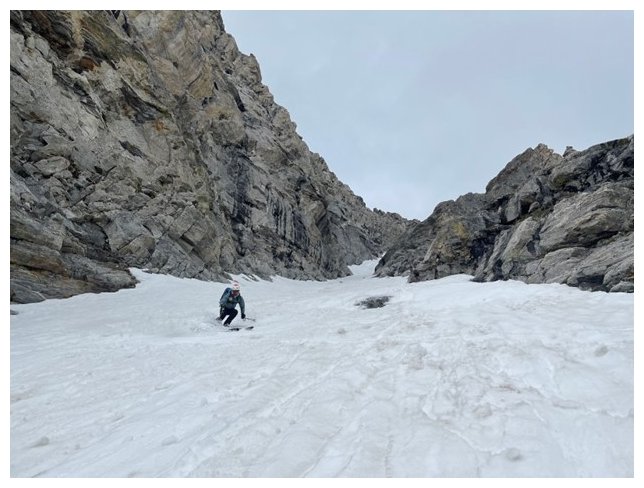
If you execute this successfully, you will likely feel "launched" into your new turn. Your new outside ski (the one you are pulling back) will also feel less "far away’" at the start of your turn. If you can combine this with having a "soft outside ski at the end of the turn," you will hopefully feel more balanced throughout the turn and transition. If the timing of the move feels off, see if you can start pulling back that new outside ski before you change edges for the new turn. This would be pulling back your right foot at the end of a right turn while still on your right side edges before switching to your left edges for your upcoming left turn. That move can feel funny to start with, so take it slowly and don’t confuse yourself. We’re just trying to generate power and balance over our new outside ski earlier in the turn.
3) Pole plant
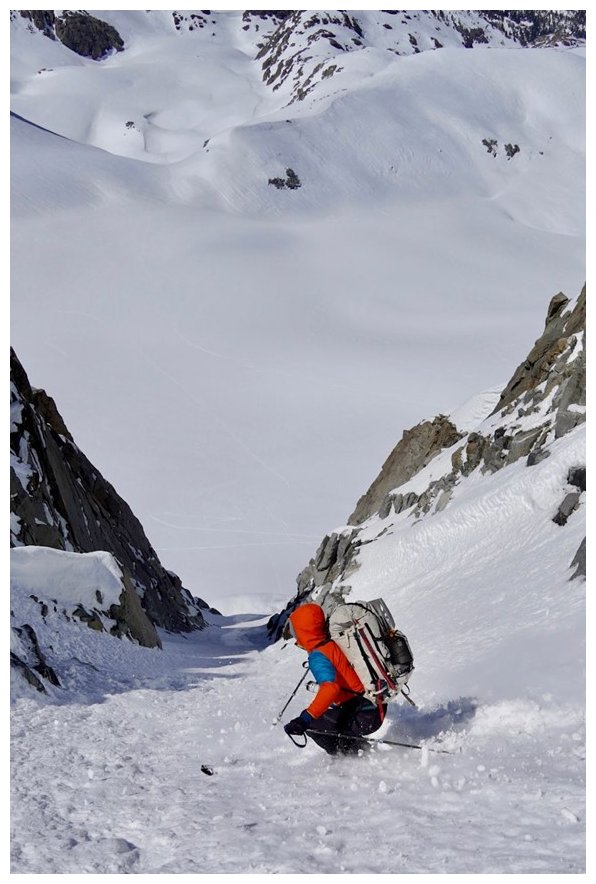
In concert with the pressure discussion above, correctly utilizing your poles to help maintain balance and, therefore, consistent pressure will help you get the most from your light setup. It will also help you link turns together in demanding terrain. A pole plant can keep us moving down the fall line with rhythm and balance over our feet, not stuck between turns or falling into the hill. The key to letting your poles help your balance is to be ready for your next pole plant when your last pole tip touches the snow. Most folks don’t allow their pole plant to draw them down the fall line, as they instead reach too far across the hill, ruining their balance in the process.
Reach down the hill with your pole towards your next turn, and as soon as your tip enters the snow, start looking for your next turn and preparing your next pole plant. The more you can let your poles pull you down the hill toward your next turn, the more they will serve you. In an ideal world, you will keep both hands (and poles) in front of you and ready to plant, reducing the swing time and making it easier for your pole to be "ready."
While not the most high-tech, poles are essential for finding balance, helping you maintain consistent and even pressure while skiing.
In Summary:
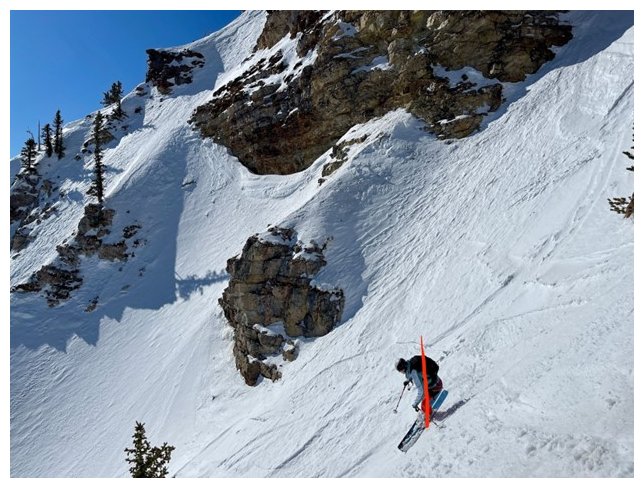
Don’t be dispirited if your shiny new grilamid boots and carbon skis make you feel like an unguided meat missile. There is hope! With some subtle technique changes, balance, and patience, you can confidently tackle some of the most daunting objectives around the globe.
Comments
