11/15/2023 Avalanche Rescue & Snow Science Gear List
By Tristan McCutcheon - Alaskan Ski Guide, Avalanche Instructor, and former Skimo Staffer
Whether you just signed up for your first avalanche course or are looking to take your snow science nerdiness to the next level, having the correct tools for the job will allow you to get the most from your experience. As our knowledge about snowpack continues to advance and rescue gear technology continues to improve, it can be hard to keep up with the do's and don’ts of our most essential kit.
The Big 3
When skiing or riding in the backcountry, three items are non-negotiable: beacon, shovel, and probe. All beacons contain a "transmit" and "search" mode, which allows you to search for or be found by other individuals equipped with beacons (regardless of brand). Once guided to the approximate area of the burial by a beacon, a probe is used to conduct a fine search, allowing you to pinpoint exactly where the buried individual is. Finally, your shovel allows you to excavate the snow from around an avalanche victim to complete the rescue. The details of a rescue are overviewed in a level one avalanche course and exhaustively covered in the single-day rescue course. We highly recommend signing up for a course where you can learn and practice these skills under the guidance of an experienced instructor. Often, the website where your local forecast is displayed will have information and links to these classes.
Still considering leaving the rescue gear at home?
Beacon (avalanche transceiver)
First, a bit on naming. "Avalanche transceiver" and "beacon" are often used interchangeably, however, avalanche transceiver is technically the correct name. While we will use "beacon" when referring to avalanche transceivers because of its colloquial usage, please note we are not referencing locator beacons, which are devices used to send a satellite distress signal, initiating a response from search and rescue.
Antennae and Frequency
Modern avalanche beacons possess three antennae and emit or search for a signal at the frequency of 457kHz (spec). This information means that modern beacons produce a signal on the x, y, and z axis, increasing the accuracy of your search compared with two antenna beacons of yesteryear. Additionally, the industry-standard frequency means that all modern beacons will communicate regardless of brand. If you are shopping for a beacon with an avalanche course in mind, or want to get current with a new one, double-check that the beacon you are purchasing has three antennae in the specs.
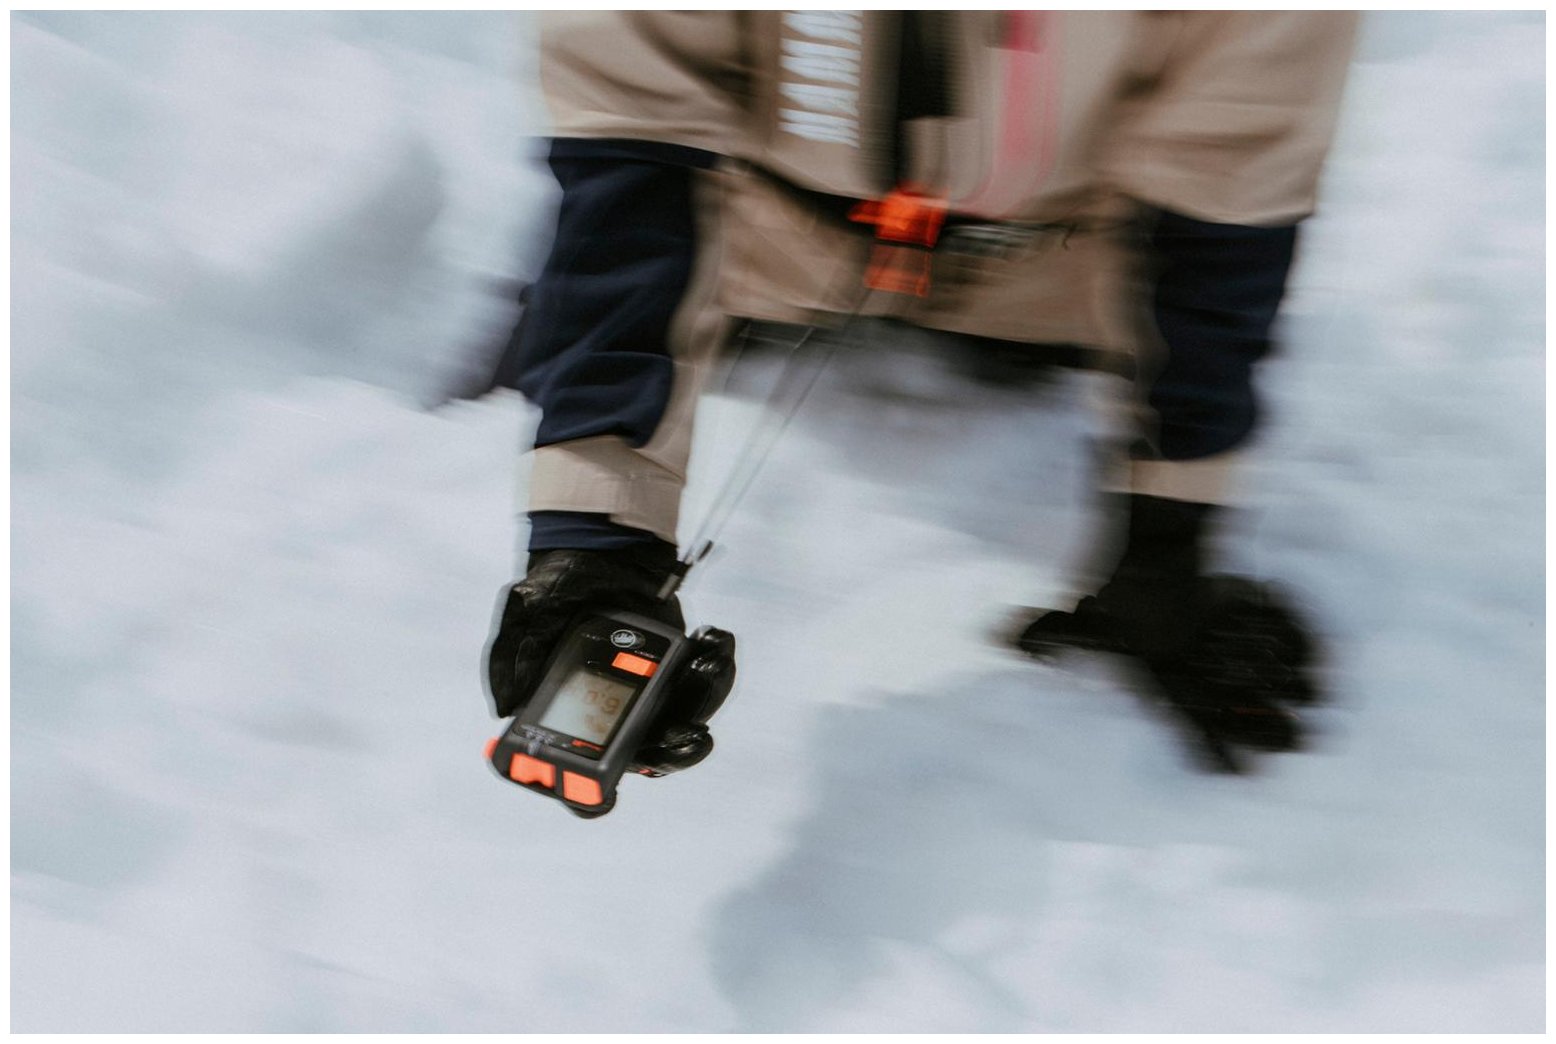
The Mammut Barryvox S in action.
Batteries
While most avalanche beacons rely on non-rechargeable alkaline batteries to operate, there are a few exceptions. The Diract Voice from Ortovox contains a rechargeable battery and is a great option if you are keen on avoiding e-waste. Additionally, the Mammut Barryvox S and Arva Neo BT Pro accept lithium-ion batteries as well as alkaline ones.
So, why the battery specificity? Alkaline batteries lose charge at a consistent rate. This makes it easy for a beacon to track its charge and relay that to the user. In contrast, lithium batteries last longer and maintain a high level of charge before dropping rapidly. Unless a beacon has been designed to accommodate this difference, a sudden and rapid drop in charge is obviously problematic. However, beacons that can accept both battery types may need to be informed of the battery type that is in use. Once you have purchased a beacon, read the user's manual for specifics. In addition to longevity, lithium-ion batteries don't leak corrosive acid whereas alkaline batteries might. Therefore, in periods of extended disuse (such as over the summer), it is important to store the beacon without batteries installed.
On a fresh charge or set of batteries, any modern beacon is required to at minimum transmit a signal for 200 hours at 50°F then be in "search mode" for an hour at 14°F (spec). While some beacons feature longer battery life, the bottom line is any modern beacon will have adequate battery life to perform its function. If you have an avalanche course on the horizon, show up with a fresh set of batteries/charge. Regardless, batteries should be replaced at 60% charge. When replacing batteries in a beacon, use reputable name brands and always replace all batteries at the same time. Your life is worth it.
Lifespan
The lifespan of a beacon varies with how it is used and treated. If you already have a three-antenna beacon but are not sure if it is time to move on, a general rule of thumb for beacon retirement is ~5 years. In those 5 years, most manufacturers recommend sending your beacon in for inspection or firmware updates. The time interval depends on the manufacturer, so read that manual!
While avalanche beacons won't be accused of being inexpensive, we don't recommend buying one used. A beacon very well could save your life, and knowing its history will provide peace of mind. However, if you want to test a few different beacon models before settling on the right one, it is acceptable to rent one from a reputable shop.
Carrying Options
Currently, there are two accepted practices for carrying a beacon; using a holster (many beacons ship with them) or a dedicated beacon pocket. A beacon holster slings over a shoulder and buckles securely around the waist, placing the beacon somewhere on your trunk. If you choose this method, the beacon should be placed over your base layer. If you elect to use a pocket, it must be integral to the pants, not a welded-on cargo pocket. Additionally, the pocket needs to have a zippered closure and the beacon must be clipped to either a beacon-specific tether clip in the pocket or a solid attachment point like a belt loop. Both of these carry methods aim to put the beacon in a place where it cannot be ripped off in the violence of an avalanche, and it will not be removed throughout the day for layer changes.
Once an avalanche victim has been approximately located using a beacon, the next step is to probe. Avalanche probes can generally be organized by length and material. Shorter probes are around 240cm, the middle of the road is 280cm, and longer avalanche probes are 300-320cm. The length of an avalanche probe determines the depth at which you are able to search for an avalanche victim in debris. A longer probe is better. However, as with anything in ski touring, there is a trade-off between weight and effectiveness. The 240cm length is the go-to choice for skimo racers on race day. The 280cm length is a great balance of weight and effectiveness and a popular option among backcountry recreationists. 320cm is the industry standard length for avalanche professionals and a superior tool for navigating glaciated terrain or areas with a deeper snowpack.
As for materials, avalanche probes are typically made from aluminum, carbon, or steel. Aluminum does a great job of balancing weight and durability at a solid price tag. Carbon is more expensive but will be lighter. Steel probes are primarily used by search and rescue teams and are quite heavy. Generally, we carry aluminum and carbon probes as they are appropriate for all backcountry users.
For folks taking a level one avalanche course, a 280cm aluminum probe is a great place to start. When purchasing a probe, consider the pack in which it will be carried. Probe sections are generally in the ballpark of 45cm, so if the safety compartment storage length of your pack comes in shorter than that, consider a new one. One final pro tip, probes come in a case. In the backcountry, your probe should be carried out of its case, which is one less step in a time-sensitive avalanche rescue.
One would think a shovel is just a shovel, right? Well, kinda. When it comes to avalanche shovels, they are very specific tools intended to be both compact and effectively transport snow. When purchasing a shovel, make sure that it is specifically certified as an avalanche shovel, meeting the UIAA 156 standard. Shovels from Ortovox, Mammut, and Black Diamond largely conform to this standard. Shovels primarily differ in the number of sections in the shaft, shovel blade volume, and shaft materials. A shovel with a longer shaft provides a better lever when moving snow. Most modern shovels have a collapsible shaft composed of two sections. Single-section shovels are lighter but less effective at moving snow and are generally only found in the packs of skimo racers.
Shovels with a larger blade can move more snow per scoop. However, moving larger scoops of snow can actually be more fatiguing than moving smaller scoops of snow. The right shovel blade volume somewhat depends on the user.
Most shovels we carry are constructed almost entirely of aluminum, which provides an excellent ratio of durability to weight. For maximum weight savings, some shovels utilize single-piece carbon fiber shafts, making them appropriate for racers or the weight-conscious. Certain avalanche shovels in the past had a brief stint of being made with plastic, however, plastic is a material to avoid when purchasing a shovel that may save the life of your backcountry partner.
One final feature to mention, some shovels have a hoe mode. This is a great option in a group rescue scenario, but not a requirement.
To make your life a little easier, many manufacturers offer preassembled kits that contain the beacon, shovel, and probe. Often, these kits are less expensive than buying all three of the same items individually. While these kits are worthwhile to look at, make sure to research the individual constituents to make sure they are appropriate for your situation. For example, if a kit includes a 240cm probe and you live in glaciated terrain, it may be best to buy the items separately to get a longer probe length.
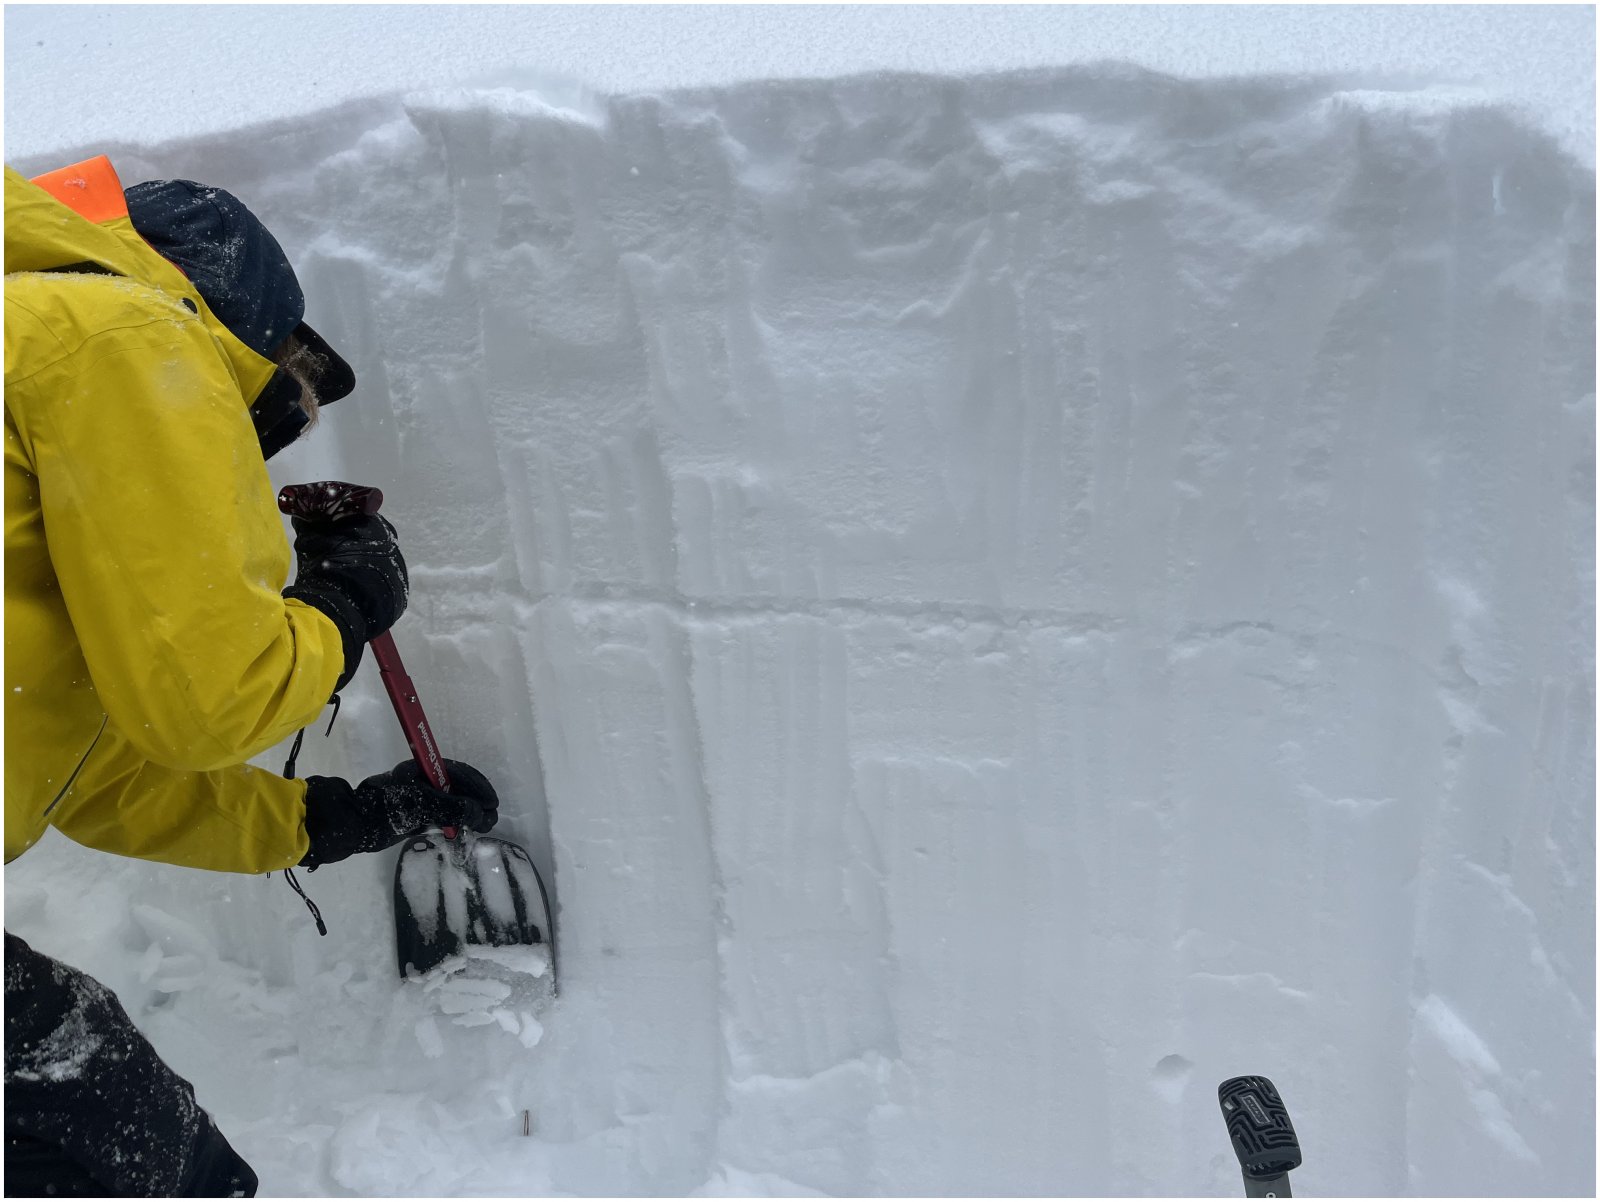
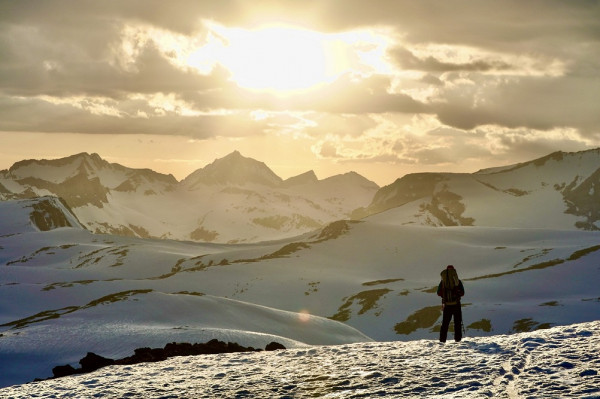
A skiers' best friend, Charlie putting a shovel to use assessing the snowpack after a surprise 65cm of cold smoke.
Avalanche Course / Snow Science Tools
What do I need for my level one?
Most level-one providers will have students dig at least one snow pit over the course of three days. Therefore, if you want to get the most out of your experience, it will be worth bringing the necessary gear to execute a few snowpack tests. You will already have a shovel and probe but will need a few additions:
Used for isolating a column of snow during snowpack tests, a snow saw is required gear for digging snow pits. A snow saw should have a blade at least 30cm long, the minimum length needed to isolate a column of snow. Also, it can be nice to have measurements marked out on the blade, but not a requirement. While some snow saws have a snow crystal card laser etched into the blade for quick grain identification, we find it is worth carrying a separate card when doing a more thorough snow profile.
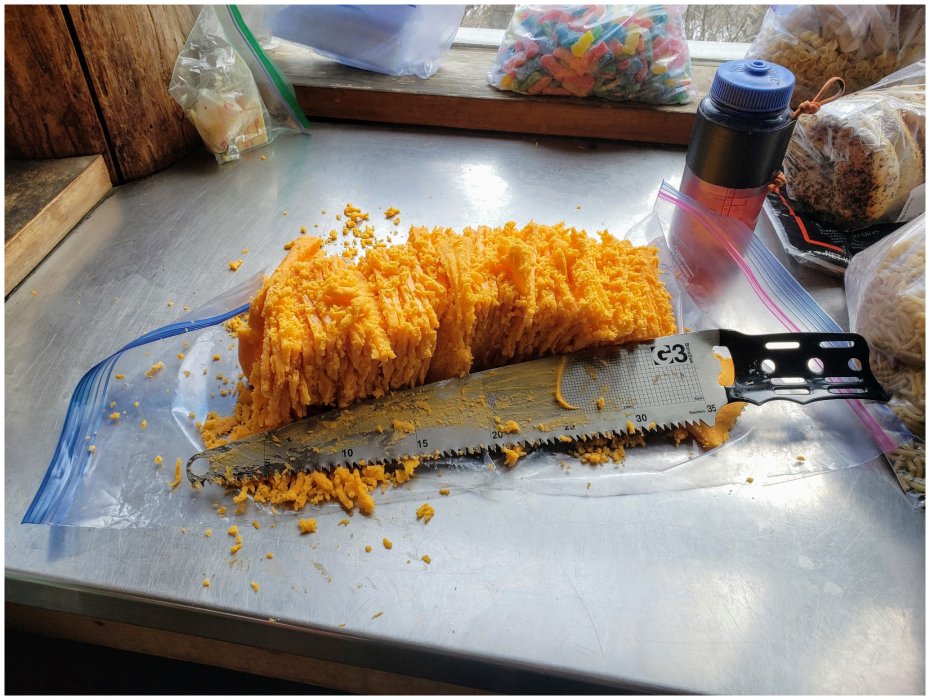
Snow saws have many uses...
Rutschblock Cord
While some snow saws are capable of being attached to a ski pole or probe in order to make a back cut on a column, a rutschblock cord is generally going to produce cleaner and more repeatable results. BCA and G3 both produce rutschblock cords. Rustchblock cords are also easy to make out of 3mm accessory cord with overhand knots tied at regular intervals.
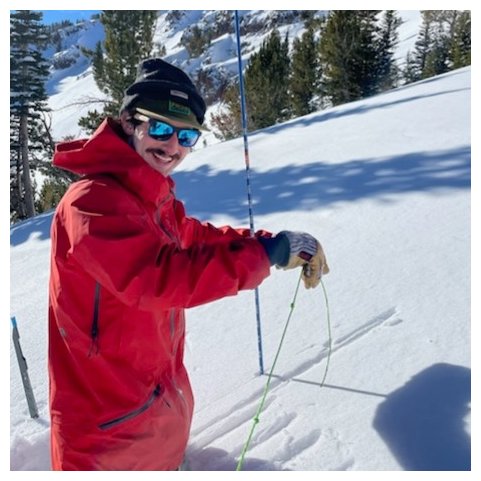
A rutschblock cord in use (mustache not required).
A final gear item to mention for a level one avalanche course is an inclinometer. One of the main objectives of a level one avalanche course is to learn to identify avalanche terrain (terrain with a slope angle of 30-45 degrees). An inclinometer is a great way to rapidly get a ballpark on slope angles, and ultimately improve the accuracy of your eye-clinometer over time. BCA produces a pocket-sized inclinometer. More advanced compasses also have inclinometers. Either way, it is not required for a level one avalanche course, but it is a tool that will be used often throughout the three days of learning. Consider it a worthy addition to your pack.
Level 2 Add-On's
In addition to the above items, if you want to take a level 2 course or explore your inner snow science nerdiness, the following are generally good to consider:
Required for digging a full profile snow pit, a magnifying loupe allows identification of the snow grain type in each layer of the snowpack. Generally, a magnifying loupe with 10-15x magnification is perfect for grain identification.
Crystal cards provide the platform on which snow crystals are isolated and viewed with a magnifying loupe. My personal preference is plastic over metal, as plastic is a poorer conductor of heat, making plastic crystal cards easier to keep cold on a sunny day. Conversely, metal crystal cards will warm more quickly with solar radiation, not ideal when looking at frozen water.
For the true snow nerd, it can also be nice to throw some popsicle sticks in the snow study kit. Popsicle sticks are a useful tool in a layered snowpack, as they can be inserted at grain changes, like bookmarking a page in a book.
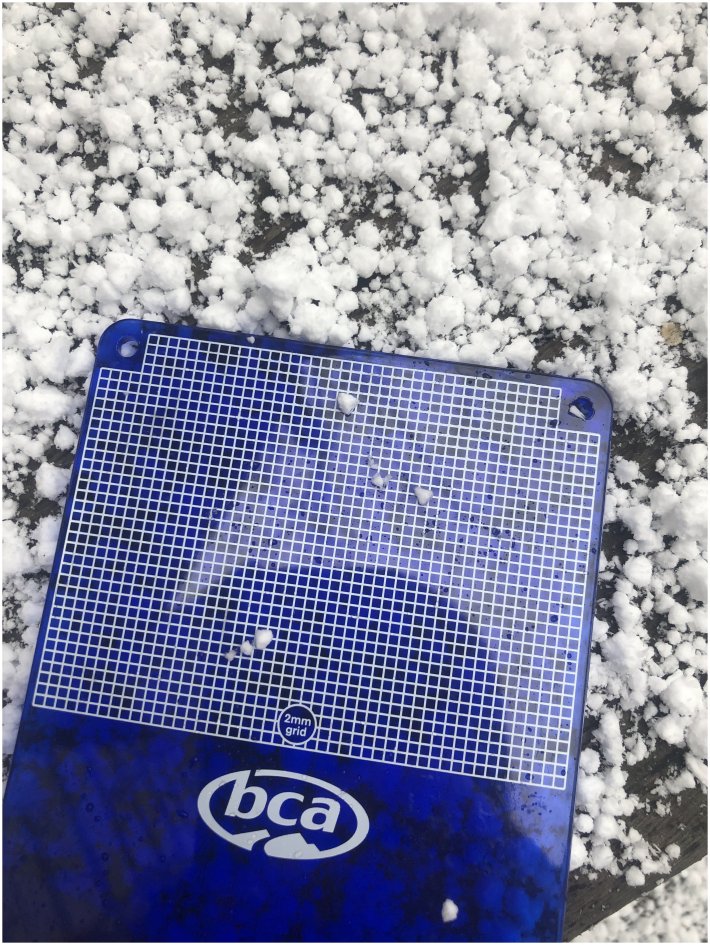
The author shakes off rust with some early-season grain identification.
Another requirement for the A3 level two course is a thermometer. Used to identify temperature gradients in the snowpack, I only use a thermometer when digging snow pits that collect data for a professional operation. For most recreationists, a thermometer will only be used in the class setting. However, if purchasing a thermometer, make sure the measurements are in °C. Also, a thermometer needs to be skewed cold, as most measurements will be at 0°C or below. Either dial stems or electronic thermometers are acceptable. Dial stems do not need to be recharged or have batteries replaced, but are less accurate. Electronic thermometers provide greater accuracy but have greater maintenance requirements. Some A3 course providers require two thermometers. Double-check the packing list!
Required for a level two avalanche course, rulers help with identifying layers in the snowpack. However, most probes have measurement markings, meaning most folks can get away with just using a probe during layer identification. The standard issue ruler for a snow study kit is the BCA 2M ruler. As the name suggests, a ruler should be 2 meters long and in centimeters.
For a robust snow study kit in a neat package, consider getting the BCA Snow Study Kit and a ruler on the side.
Putting it Together
Now that you have the tools, it's time to use them. It is highly recommended to practice with your kit before showing up to an avalanche course. This means having boots that fit appropriately, skins that are trimmed for your skis, the knowledge of how to operate your bindings, and the fitness to carry them uphill. The learning outcome of an avalanche class won't be as great if the instructors have to spend valuable class time giving tutorials on how to use the gear. Finally, doing some reading before your class can be immensely helpful to introduce some topics. Staying Alive in Avalanche Terrain is an exceptionally well-written and thorough book that presents complex information in a digestible and interesting way.
Thanks for reading and remember, the more prepared you show up for a course the more you will get out of it.
Comments
12/1/2023
Red Line Traverse